Build Serverless Applications with Serverless Framework and AWS Lambda Using TypeScript, Node.js, and Serverless Offline
I love crafting elegant solutions that make an impact. With expertise in both front-end and back-end technologies, I'm passionate about creating dynamic, user-focused applications. When I'm not coding, you can find me exploring new technologies, experimenting with new frameworks, or brainstorming my next big project. Let's collaborate and bring your ideas to life!
What is Serverless computing?
Serverless computing is a cloud computing execution model in which the cloud provider is responsible for executing a piece of code by dynamically allocating resources. The cloud provider runs the code in stateless containers, which are created on demand and only exist for the duration of a single request. The developer only needs to upload their code, and the cloud provider runs it, automatically scaling the resources up or down based on demand. This means the developer does not have to provision or manage any servers and only pays for the computing time used. This can lead to cost savings as well as increased scalability and flexibility.
Serverless computing is commonly used for event-driven and microservices applications, such as handling incoming API requests, running background jobs, or processing data streams. Common examples of serverless technology include AWS Lambda and many others.
What is a Serverless framework?
The Serverless Framework is an open-source framework for building serverless applications it supports multiple cloud providers, including AWS, Azure, Google Cloud, and more. It provides a consistent, easy-to-use interface for deploying and managing serverless applications, regardless of the underlying cloud provider. The framework allows developers to define their application's infrastructure as code, using a simple YAML/TS (@serverless/typescript) configuration file. This file describes the functions, events, and resources that make up the application, making it easy to automate deployment and management. It also provides a plugin system, which allows developers to easily add functionality to their applications, such as monitoring and logging, without having to write additional code.
In summary, the Serverless Framework is a powerful tool for building, deploying and managing serverless applications, which makes it easy for developers to focus on writing code, and not worry about the underlying infrastructure.
Let’s get started!
Setting up local AWS Configuration
Before we start building our boilerplate, we need to first set up our AWS configuration locally. If you do not have an account with AWS yet, you can create one and avail of its free tier for one year.
Here is a quick guide on how to set up your AWS configuration locally, after successfully creating AWS account and setting up AWS CLI.
Run:
aws configure
Project setup
In this project, we will be using serverless framework to build and deploy our serverless boilerplate project.
Assuming you have nodejs installed on your local machine.
Run:
npm install -g serverless
Creating a serverless typescript project by default aws-nodejs-typescript already implements esbuild so we don’t need to set it up.
Run:
serverless create --template aws-nodejs-typescript --path serverless-typescript-boilerplate
Once the script executes, it will generate a folder structure that looks like this.
serverless-typescript-boilerplate
 ┣ src
 ┃ ┣ functions
 ┃ ┃ ┣ hello
 ┃ ┃ ┃ ┣ handler.ts
 ┃ ┃ ┃ ┣ index.ts
 ┃ ┃ ┃ ┣ mock.json
 ┃ ┃ ┃ ┗ schema.ts
 ┃ ┃ ┗ index.ts
 ┃ ┗ libs
 ┃ ┃ ┣ api-gateway.ts
   handler-resolver.ts
 ┃ ┃ ┗ lambda.ts
 ┣ .npmignore
 ┣ .nvmrc
 ┣ README.md
 ┣ package.json
For us to be able to change environmental variables based on the deployment stage, we can enable useDotenv inside our serverless.ts file.
...

const serverlessConfiguration: AWS = {
  service: 'serverless-typescript-boilerplate',
  frameworkVersion: '3',
  plugins: ['serverless-esbuild'],
  useDotenv: true,
  ...
}
We can now create multiple environment files for development, staging, and production because we enabled useDotenv; go to your root folder and create. env.dev, env.stg, and env.prod.
serverless-typescript-boilerplate
 ...
 ┣ package.json
 ┣ env.dev
 ┣ env.stg
 ┣ env.prod
Let’s test our environment files by adding one variable inside the file. This is the example for the env.dev file.
ENVIRONMENT=development
For now, we will be modifying our src/functions/hello/index.ts file to execute get requests since, as of this writing, the current default is post requests.
import { handlerPath } from '@libs/handler-resolver';

export default {
  handler: `${handlerPath(__dirname)}/handler.main`,
  events: [
    {
      http: {
        method: 'get',
        path: 'hello',
      },
    },
  ],
};
Also, modify our src/functions/hello/handler.ts file to test our handler and our created environment variables.
import type { ValidatedEventAPIGatewayProxyEvent } from '@libs/api-gateway';
import { formatJSONResponse } from '@libs/api-gateway';
import { middyfy } from '@libs/lambda';

import schema from './schema';

const hello: ValidatedEventAPIGatewayProxyEvent<typeof schema> = async (event) => {

  return formatJSONResponse({
    message: `Hello welcome to the exciting Serverless world!`,
    environment: process.env.ENVIRONMENT,
    event,
  });
};

export const main = middyfy(hello);
To run our project locally, we need to install plugins from the serverless framework using **Serverless Offline.
Run:**
npm install serverless-offline --save-dev
Modify your serverless.ts file and add serverless-offline inside plugins.
plugins: ['serverless-esbuild', 'serverless-offline'],
Let's also modify our package.json file for us to be able to run our project using npm run start.
"name": "aws-serverless-typescript-api",
"version": "1.0.0",
"description": "Serverless aws-nodejs-typescript template",
"main": "serverless.ts",
"scripts": {
  "start": "serverless offline start",
  "test": "echo \\"Error: no test specified\\" && exit 1"
},
...
To run the project locally execute.
npm run start
If you are using node < v16 and encounter an error similar to this, Try to reinstall a specific version of serverless offline.
npm install --save-dev serverless-offline@^8
Once the application is running, it will prompt you for a list of endpoints in your command line. By default, the stage is set to development, and the port is set to 3000; you can customize it using the configuration provided in the serverless-offline documentation.

Test our endpoint using our browser.
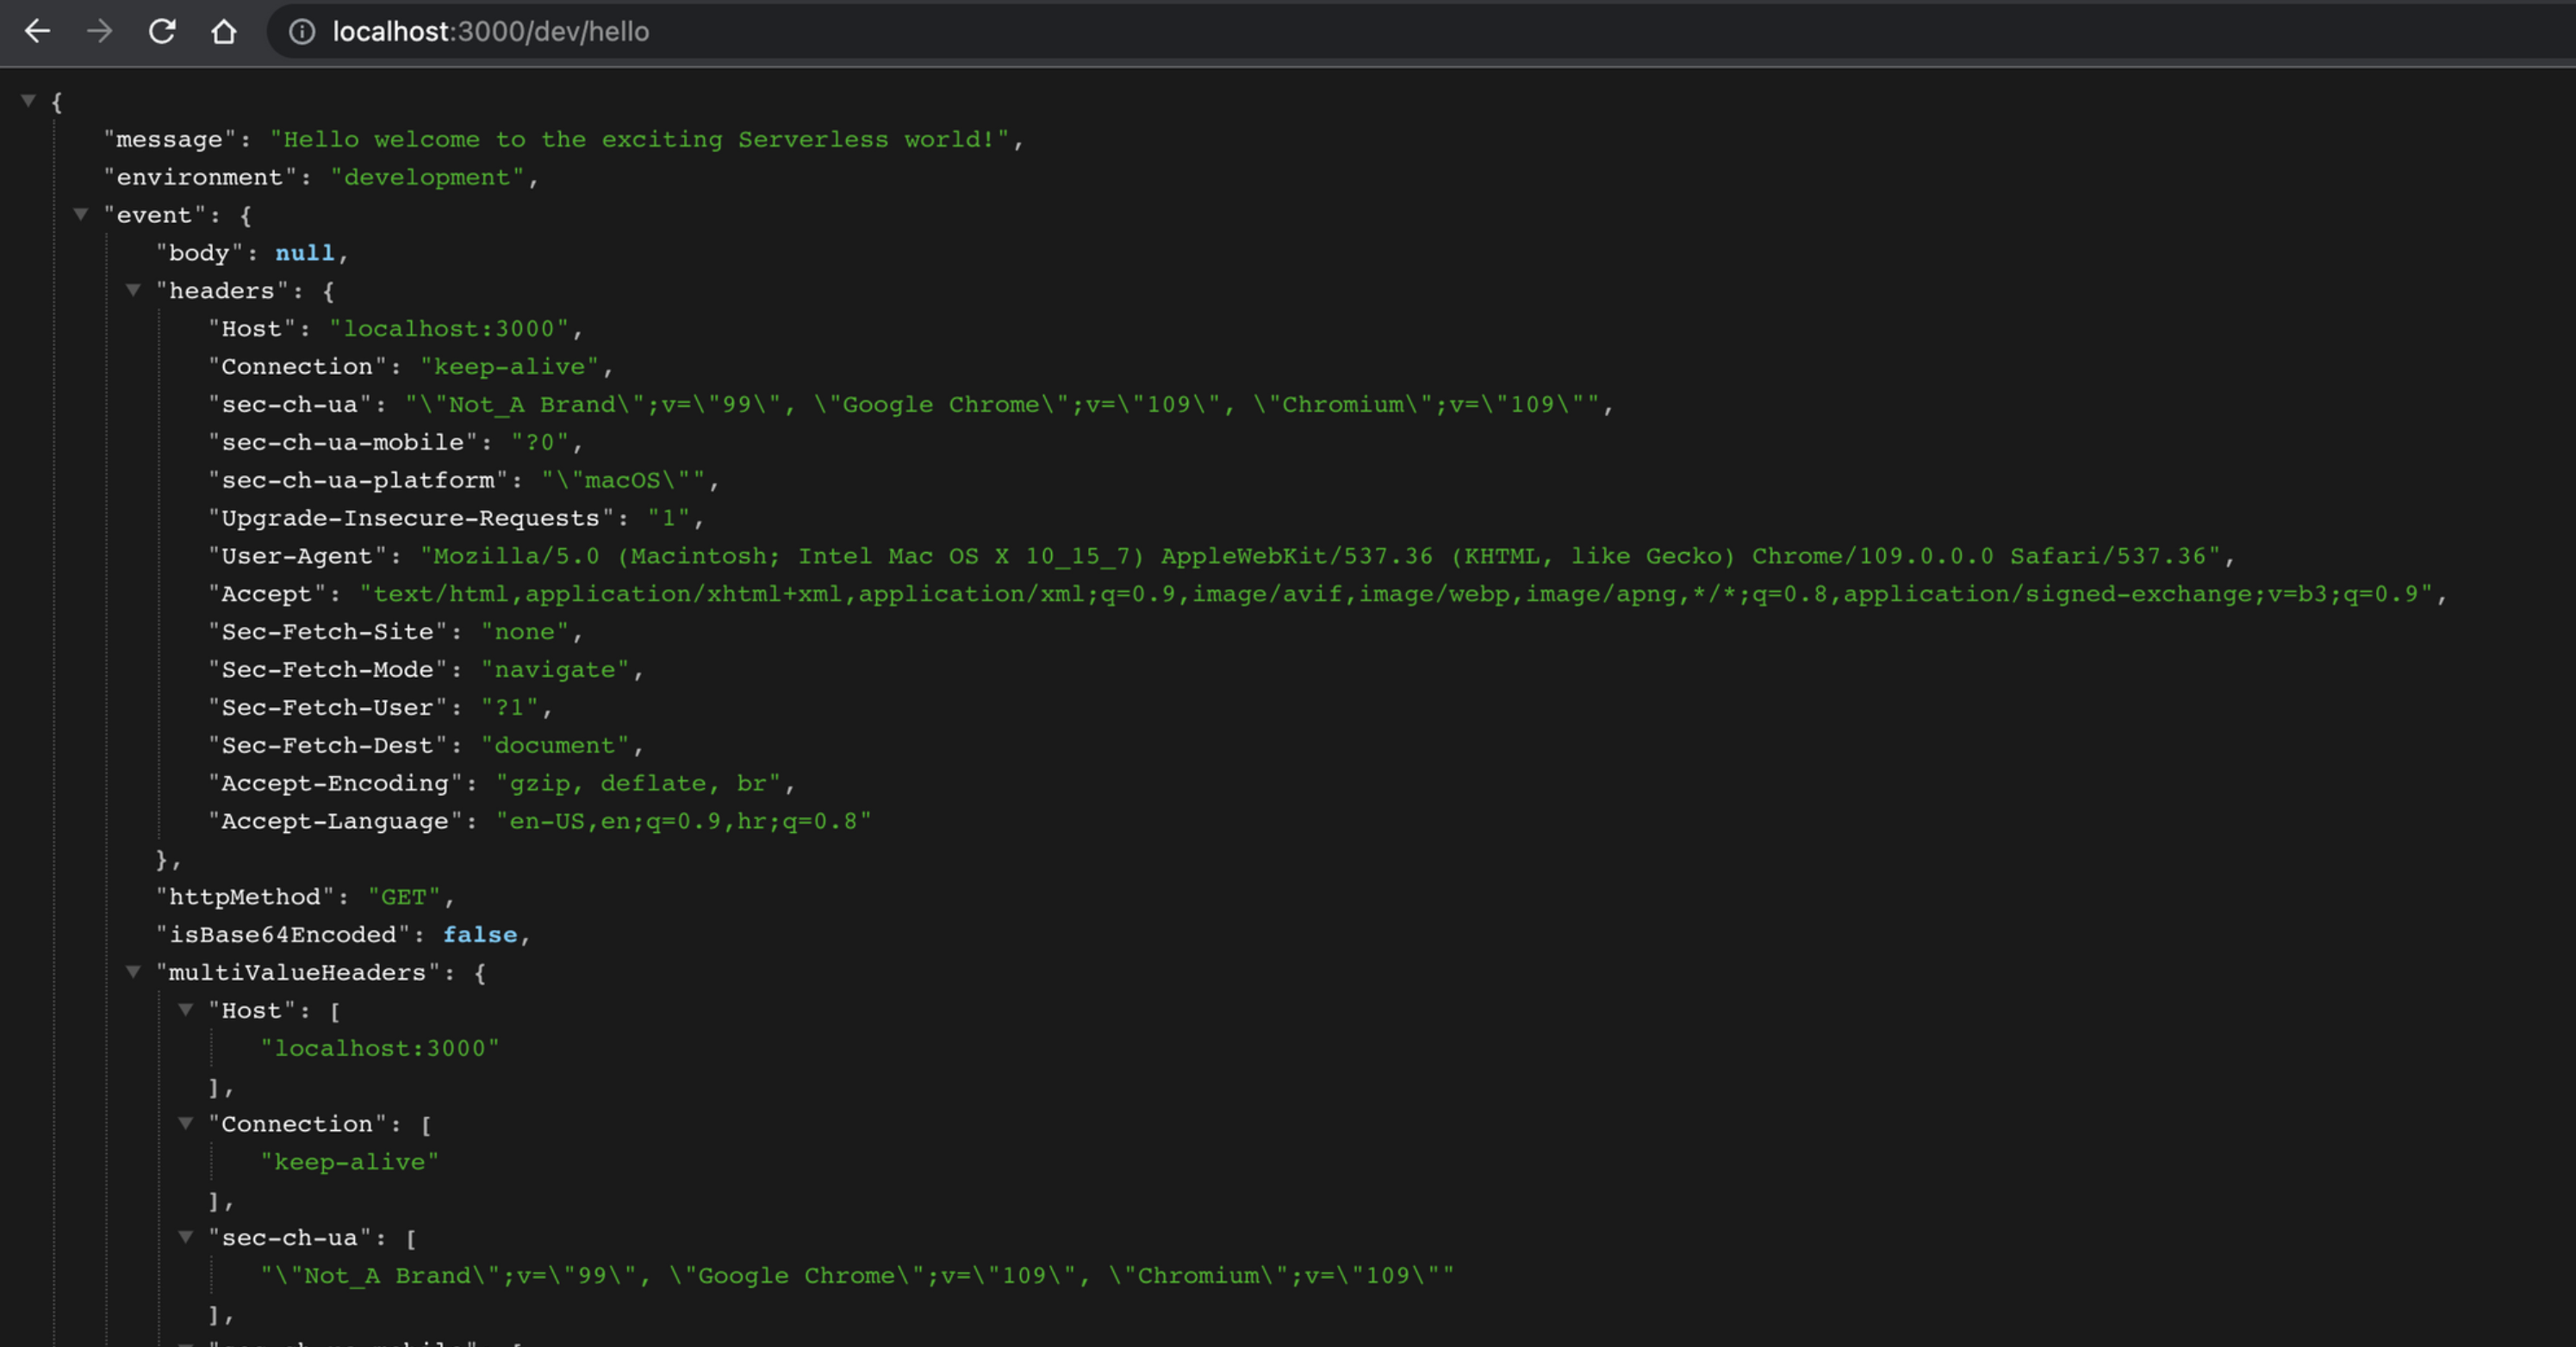
Hooray! our application is now up and running in port 3000.
